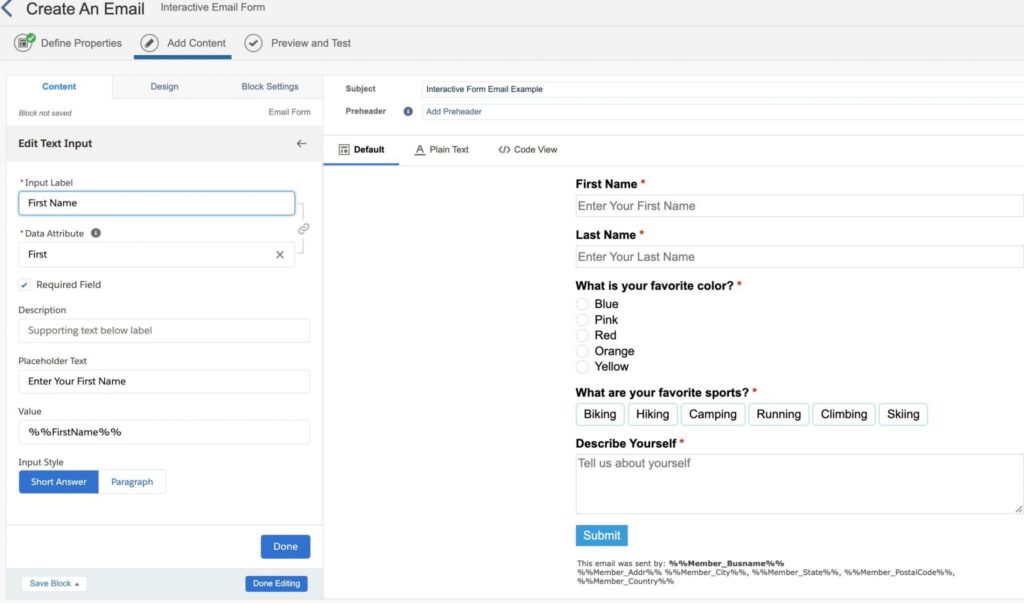
In the world of marketing, the primary focus revolves around data accumulation. The more data collected, the deeper the understanding of prospects or customers, leading to the creation of a more comprehensive individual profile. Enter Progressive Profiling in Salesforce Marketing Cloud.
Progressive profiling emerges as an effective method for data collection, enabling the gradual enrichment of an individual’s profile over time. This approach prevents overwhelming data collection methods that could potentially drive prospects away. Or at least prevent them from filling out your forms.
While Progressive Profiling is a built-in feature in Pardot, Marketing Cloud Consultants and Admins often seek ways to implement it. In this insight, we’ll demonstrate how to achieve Progressive Profiling in Marketing Cloud through a custom solution on CloudPages, deviating from conventional Smart Capture Forms.
Progressive Profiling in Salesforce Marketing Cloud: Use Case
Let’s outline the use case: a landing page/cloud page that unfolds as follows:
First Visit:
Display a simple form with fields for First Name, Last Name, and Email Address.
Second Visit:
Present the same form but accompany it with a ‘Welcome Back’ message.
Third Visit:
If the prospect submits the form and returns later, showcase a different form with additional fields like company name and service feedback, posing the question, “do you like our service?”
How Progressive Profiling Works
First Visit:
Set a cookie when a user visits the landing page.
Second Visit:
Check for the existence of a cookie; if present, display the welcome message with the form.
Third Visit and Beyond:
Upon form submission, add values to a data extension (including the cookie). Subsequent visits involve checking for the cookie’s presence in the data extension, revealing different form fields if applicable.
Setting Up Progressive Profiling in Marketing Cloud
Step 1: Create a Data Extension
Establish a data extension to store form values.
Step 2: Create the CloudPage
Utilize the provided code snippet.
Step 3: Test the Progressive Profiling
A demo video showcases the testing process.
Considerations
GDPR and Privacy:
Adhere to GDPR laws; ensure explicit consent for placing cookies and tracking individuals. Consult your legal team for additional disclaimer requirements.
Google Chrome Same Site Cookie Change:
Be mindful of changes in Google Chrome’s Same Site Cookie policy, adjusting the code in SSJS accordingly to comply with Chrome version 76 or later.
Cache and Browser Changes:
Note that clearing the cache or switching browsers generates a new cookie, displaying the original form.
This insight hopes to elucidate the implementation of Progressive Profiling in Marketing Cloud through a custom solution on CloudPages, leveraging SSJS and other elements. While gaining Progressive Profiling functionality, strategic consideration of the fields to request at each stage is crucial before implementing any technology.


